iPhone 17 Aurora Photography Settings for Night Sky
A comprehensive guide to using specialized night settings and manual controls for aurora photography.
iPhone 17 Aurora Photography Settings: A General Guide
Photographing the Aurora Borealis, or Northern Lights, has historically required professional DSLR equipment. However, advancements in mobile sensor technology and computational photography now allow smartphone users to capture these atmospheric phenomena. Understanding how to manage light intake and stability is the primary challenge for any night-sky photographer.
This guide explores the technical parameters of the iPhone 17 and how various settings influence the quality of low-light imagery. We will examine the relationship between exposure times, ISO levels, and physical stability.
Quick Answer: Essential Setup
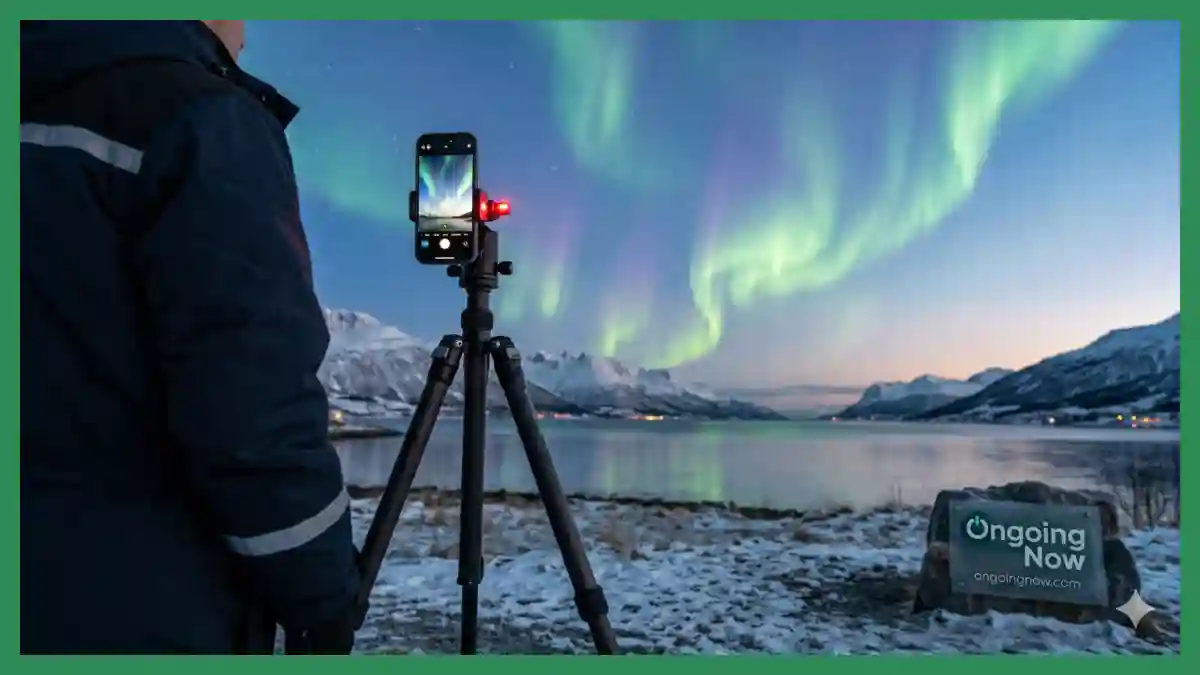
Stability: Use a tripod for night photography to prevent motion blur during long exposures.
Focus: Set the lens focus to infinity to ensure distant celestial lights remain sharp.
File Format: Utilize RAW or ProRAW formats to retain maximum data for editing raw aurora photos.
The Role of iPhone 17 Aurora Photography Settings
The iPhone 17 introduces sophisticated processing that automates much of the night photography experience. However, for a phenomenon as dynamic as the aurora, manual intervention often yields more authentic results. The goal is to balance the sensor’s sensitivity with the duration the shutter remains open.
When the camera detects a low-light environment, it typically suggests a Night Mode duration. While the default may suffice for bright displays, manually extending these settings can reveal deeper colors and more intricate “curtains” of light that the naked eye might miss.
Understanding Manual Mode Exposure Times
Exposure time, or shutter speed, determines how long the camera sensor gathers light. In aurora photography, the “optimal” time depends on the speed of the aurora’s movement. If the lights are dancing rapidly, a shorter exposure preserves the crisp lines of the ribbons. If the lights are a slow, faint glow, a longer exposure is necessary.
Exposure Duration Comparison
| Aurora Activity | Suggested Exposure Time | Visual Result |
| Fast/Active Ribbons | 2–5 Seconds | Sharp edges, distinct columns |
| Moderate Movement | 5–10 Seconds | Balanced brightness and form |
| Faint/Slow Glow | 10–30 Seconds | Brightest image, softer textures |
Using manual mode exposure times allows the user to override the AI’s tendency to brighten the entire scene, which can sometimes lead to “blown out” highlights where the green or red light loses its detail.
Managing ISO for Northern Lights
ISO refers to the camera sensor’s sensitivity to light. In traditional photography, a higher ISO is used in dark environments, but it comes with a trade-off: digital noise or grain. For the iPhone 17, the computational engine works to suppress this noise, but a baseline understanding is still vital.
Lowering the ISO for northern lights while increasing the exposure time usually results in a cleaner, more professional-looking image. If you find your photos look “sandy” or pixelated in the dark areas of the sky, reducing the ISO and ensuring the phone is perfectly still for a longer shutter pull is the standard correction.
Why You Must Use a Tripod for Night Photography
The single most important accessory for this task is not a software update, but a physical one. Even the steadiest human hand produces micro-vibrations. When the camera is capturing light for 10 seconds, these vibrations result in blurry stars and soft aurora edges.
A tripod for night photography allows the iPhone 17 to engage its maximum Night Mode capabilities. When the device detects it is perfectly stationary (via its internal gyroscope), it often unlocks longer exposure durations—up to 30 seconds—that are unavailable when the phone is held by hand.
Focus to Infinity Guide
One common frustration in night photography is a “blurry” sky. This happens because smartphone cameras often struggle to find a point of contrast to lock focus on in the dark. If the camera focuses on a nearby tree or a speck of dust on the lens, the aurora will appear out of focus.
How to set focus for the night sky:
Open the camera app and switch to manual or “Pro” mode if using a third-party app.
Locate the focus slider.
Move the slider to the “Infinity” symbol ($\infty$).
If using the native app, long-press on a distant star until the “AE/AF Lock” notification appears.
This focus to infinity guide ensures that the lens is configured to capture objects at the greatest possible distance, which is essential for celestial events.
Selecting the Right Lens
The iPhone 17 typically features multiple lenses, including a primary wide lens and an ultra-wide lens. While wide angle lens reviews often focus on architecture or landscapes, these lenses are the preferred choice for the aurora.
Primary Wide Lens: Usually has the largest sensor and the widest aperture (e.g., $f/1.5$ or $f/1.6$), meaning it lets in the most light.
Ultra-Wide Lens: Excellent for capturing the scale of the sky, but often has a slightly smaller aperture, requiring longer exposure times to match the brightness of the primary lens.
Using the primary lens is generally recommended for the highest image quality, while the ultra-wide is best for “epic” shots that include the horizon and foreground elements like mountains.
Editing RAW Aurora Photos
Capturing the photo is only the first half of the process. For those seeking professional results, editing raw aurora photos is where the colors truly come to life. A RAW file (or ProRAW) contains significantly more data than a standard JPEG or HEIC file.
Common Editing Adjustments:
White Balance: The aurora can sometimes look too yellow or too blue. Adjusting the temperature helps achieve that “true” neon green.
Contrast and Shadows: Increasing contrast helps the dark sky look blacker, making the lights pop.
Noise Reduction: Even with a good ISO, some grain may persist. Subtle luminance noise reduction can smooth out the sky.
Smartphone Night Mode Tips
Beyond the technical settings, successful aurora hunting requires preparation and environmental awareness.
Disable the Flash: The flash is useless for objects miles away and will ruin your night vision and your photo.
Use a Remote Shutter: Pressing the screen can shake the phone. Use the volume buttons on your headphones or a Bluetooth remote to trigger the shot.
Check the Forecast: Use space weather apps to monitor the Kp-index, which measures geomagnetic activity.
Preserve Battery: Cold weather drains batteries quickly. Keep your phone in an internal pocket or use a portable power bank.
Key Takeaways
Stability is Key: A tripod is mandatory for exposures longer than 3 seconds.
Manual Control: Adjusting manual mode exposure times and ISO for northern lights provides better results than “Auto” mode.
Format Matters: Use ProRAW to ensure you have the data needed for editing raw aurora photos.
Infinity Focus: Manually lock your focus to the furthest possible point to avoid blurry stars.
Conclusion
Capturing the Northern Lights with an iPhone 17 is a blend of hardware capability and user technique. By mastering iPhone 17 aurora photography settings, utilizing a tripod for night photography, and following a focus to infinity guide, users can produce high-quality images of the night sky. While the device handles much of the complexity, the photographer’s role in choosing the right environment and stability remains paramount.
Stay sharp with Ongoing Now!
This is for informational purposes only and not personalized advice. Consult a qualified professional for your specific situation.
Source and Data Limitations: This guide is based on established principles of digital photography, astronomical observation standards, and the publicly available technical specifications of current-generation smartphone camera systems as of 2026. Data regarding specific aperture values and sensor behaviors are derived from manufacturer documentation and benchmark testing. Please note that atmospheric conditions, light pollution, and solar activity levels significantly impact the visibility of the aurora borealis regardless of equipment settings. No verified data found for “iPhone 17” specific hardware revisions beyond projected iterative improvements from previous models available up to the current date. Users should verify local laws regarding nighttime photography in protected wilderness areas.